This article is a detailed how-to tutorial on installing a local Boomi atom on a Windows operating system.
Local Boomi Atom
A Local Boomi Atom is a single-tenant, single-node AtomSphere runtime engine installed on your local network to access the local resources (file read/write, database, on-premise applications or servers) reachable within the network. It has the ability to connect to the cloud to access the cloud-based systems and APIs provided the local atom has connectivity to the cloud.
Minimum Hardware Requirements
OS – Windows that support Java 7 or 8 runtime.
Processor – 1.8 GHz or higher Pentium 4.
Memory – 2GB Ram (min. 1GB dedicated to Atom)
Hard Disk – 50MB for runtime and configuration, 10GB for data archiving.
Boomi Atom Installation
1. Login to https://platform.boomi.com/ with your userID and password.
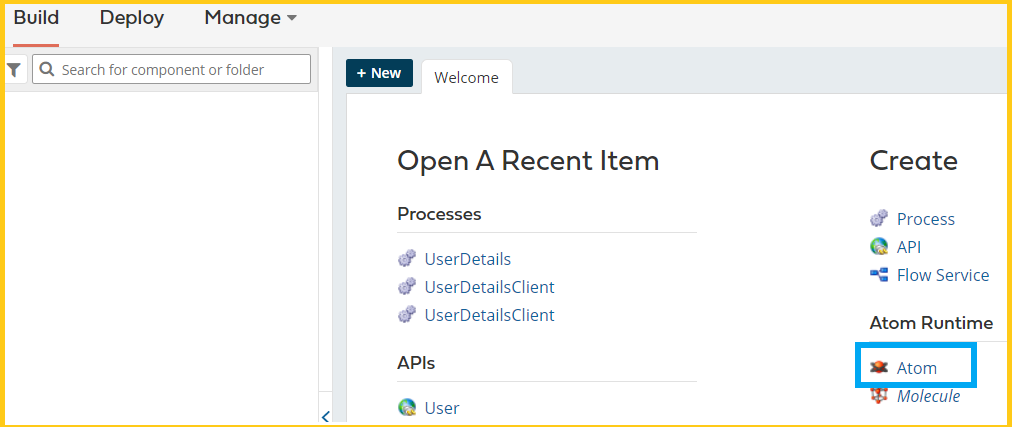
2. Click on Atom under Create on the Welcome tab
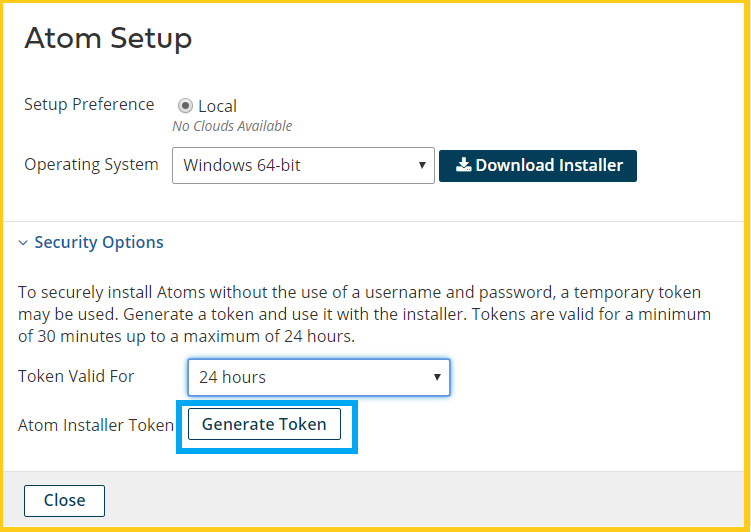
3. In the Atom Setup pop-up window, select Security Options. Select how long the token should be valid. Click Generate Token. Copy the installer token to a note pad or text editor. This token will be used for authentication when the installer is running to install.
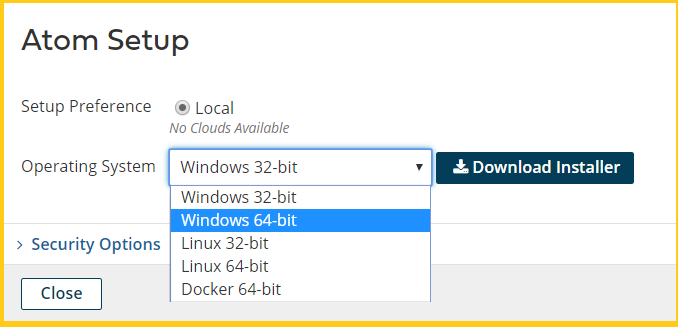
4. In the Atom Setup pop-up window, select Local for setup preference and the Operating System from the dropdown on which the Atom has to be installed. Click Download Installer. The installer will be downloaded to a location specified.
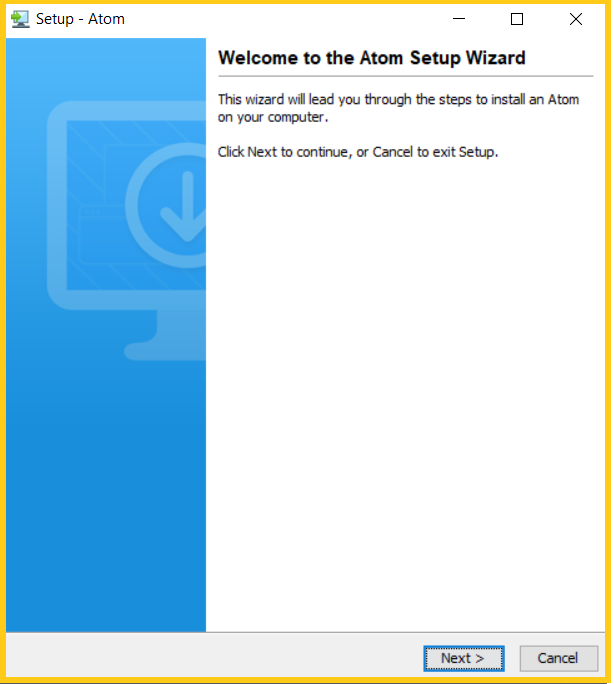
5. Right-click on the Atom installer and select Run as administrator. This will launch the installer wizard. You must have local admin rights on the machine you choose to install.

6. Click Next to continue
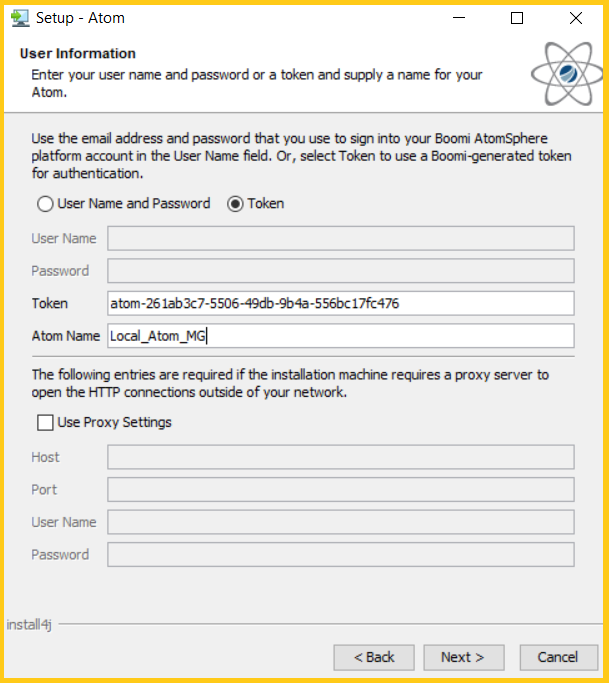
7. Click on the Token radio button and enter the Token that was saved in a note pad/text editor. Enter Atom name Local_Atom_AAA. Replace “AAA” with your initials or your project name.
Note: You can also use your Boomi AtomSphere account/password instead of the security token for authentication.
If you need to configure proxy settings, click the checkbox Use Proxy settings. Enter Host, Port, User Name, Password.
Click Next to continue.
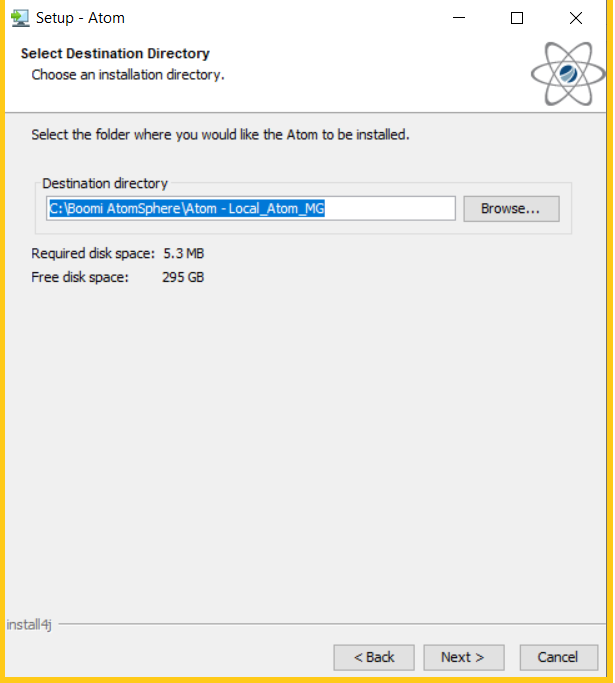
8. Keep the default destination directory and click Next.
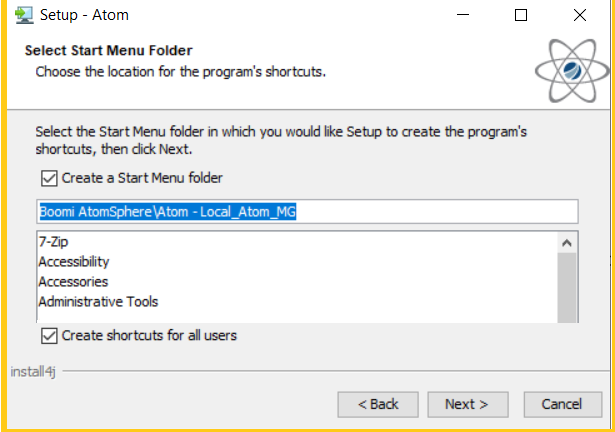
9. Click Next to continue with the default options. A Start menu folder will be created for the Atom by default.
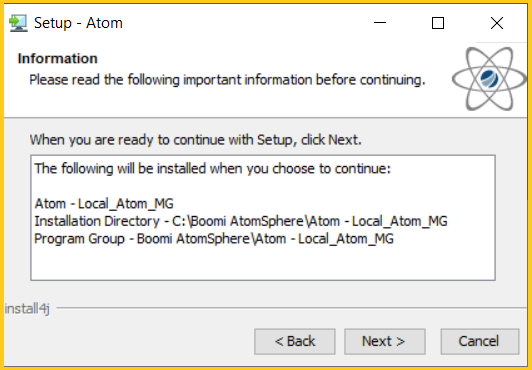
10. Verify all the information displayed in the Information window and click Next.
11. The Installer will download Atom files and configure the installation. Click Finish to complete the installation.
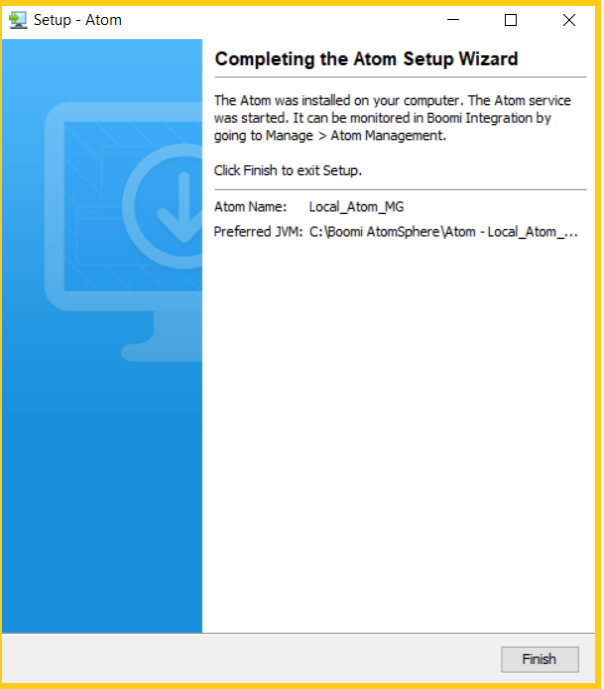
12. Login to https://platform.boomi.com.
13. Click the Atom Management under the Manage tab. The installed Local Atom will be visible under the Unattached Atoms.
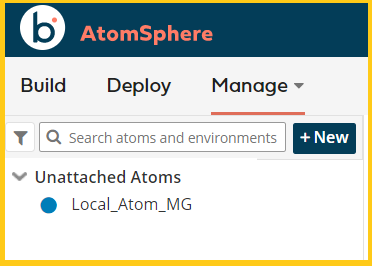
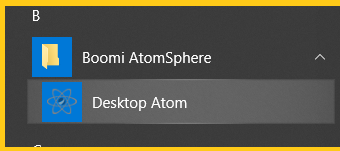
Note: The blue dot indicates that the Local atom is running. It will be gray in color indicating that it is not started. Please click on the Desktop Atom in the Start menu to start it.
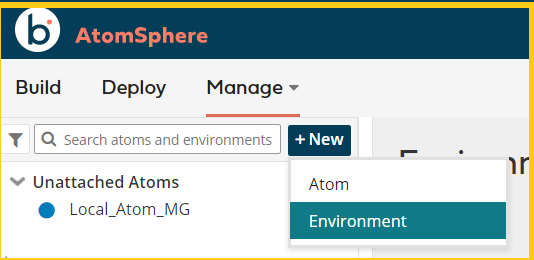
14. Create a new Environment by clicking the New button and selecting Environment.
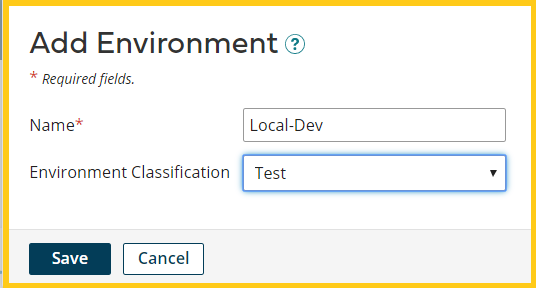
15. A pop-up window appears. Enter the Name and select the Environment Classification and click Save. This creates a Local-Dev environment.
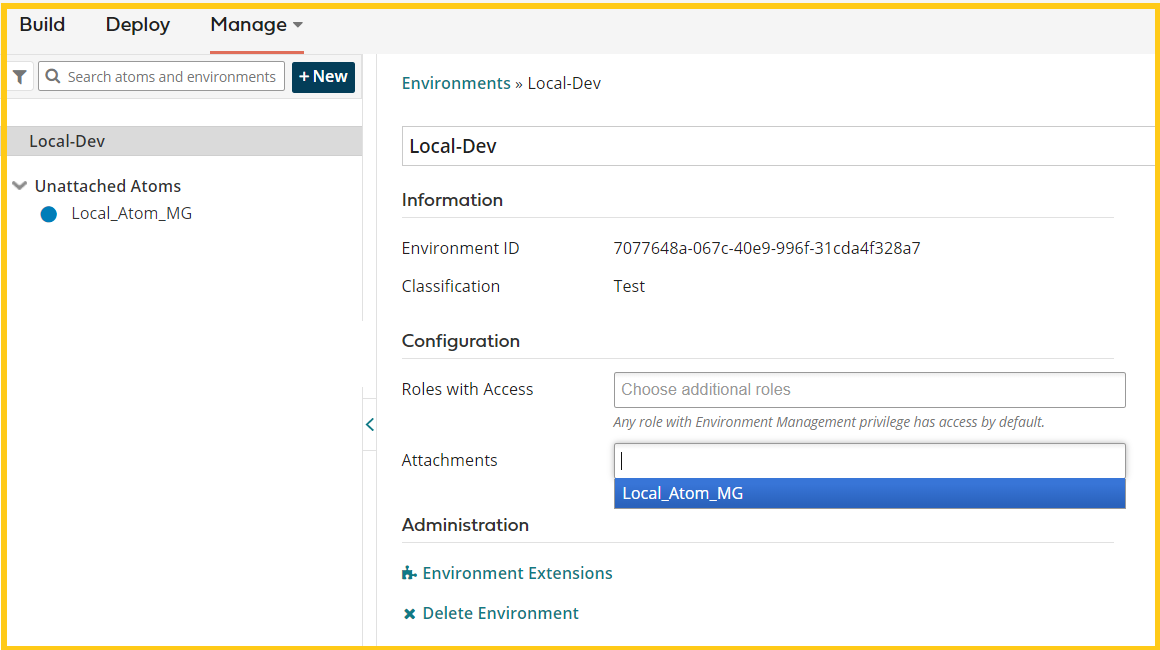
16. Click Local-Dev and Click Attachments text field to view all unattached atoms. Select Local_Atom_MG from the drop-down list.
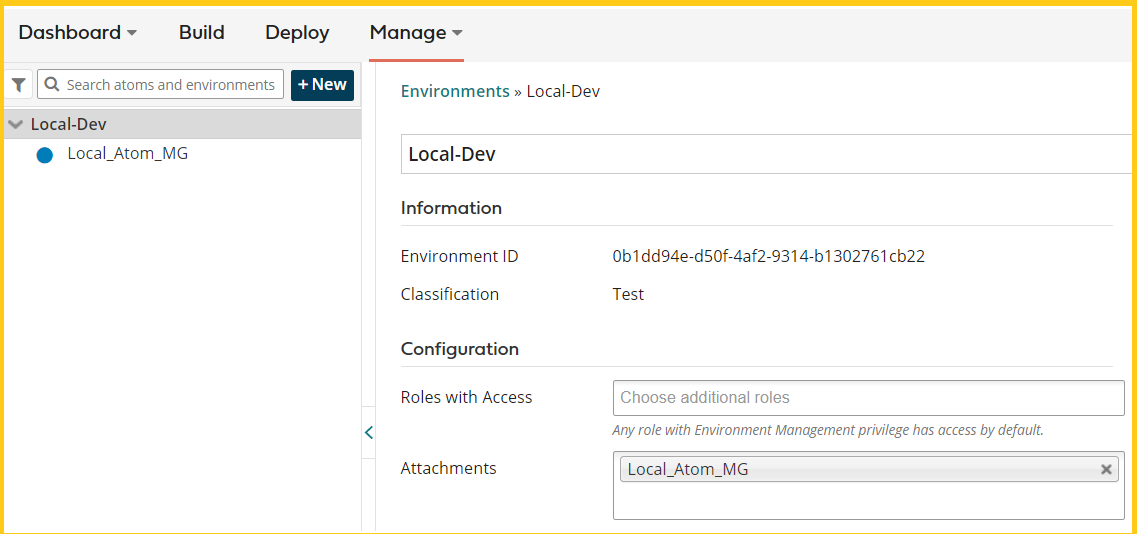
17. The Local_Atom_MG will be attached to the Local_Dev environment.
This completes installing a Local Boomi Atom on Windows.
Reference link: https://train.boomi.com

